OSRS Deadman All-Stars Tournament: A Strategic Guide to Surviving and Thriving
Jun-10-2026 PSTThe Deadman All-Stars tournament is one of the most intense competitive events in Old School RuneScape. Teams battle across multiple days, completing missions, fighting at breaches, and attempting to secure kills while managing their own survival. This guide breaks down the key strategies, common mistakes, and winning tactics observed throughout the tournament.
Tournament Structure
The tournament spans multiple days, with teams competing for kills, blood money, and mission completions. Each day consists of early hours for preparation, missions that reward powerful items such as Void Waker pieces or corrupted weapons, and breaches which are large-scale PvP events at designated locations. Success requires strong communication, strategic positioning, and the ability to know when to fight and when to retreat.
Mission Strategy
Missions provide guaranteed rewards that can completely change a team's trajectory. Teams that successfully complete missions gain corrupted weapons, Void Waker pieces, and other end-game gear.
Mission One: Kalisto
The first major mission required teams to kill Kalisto for a guaranteed Void Waker piece. Positioning is everything. The Dino Nuggets arrived first because they had minimal hesitation. The Weasels arrived slightly later and paid the price. When a mission is announced, the team that moves immediately and decisively has a massive advantage.
The Reese Rhinos employed an exceptionally high-IQ plan for this mission. Instead of directly contesting the boss, they set up in the escape caves, positioning themselves to catch whichever team obtained the totem. This allowed them to avoid the initial chaos while still securing the reward through a well-executed ambush.
Do not underestimate third parties. The Weasels managed to take down one opponent but then crumbled when the Nuggets counter-attacked. If you commit to a fight during a mission, be aware that other teams are almost certainly watching and waiting for the right moment to strike.
Mission Two: Soul Herit
The second mission required teams to kill Soul Herit in the Krux dungeon. This mission demonstrated how confusion over mechanics can be catastrophic. Some teams believed Krux dungeon required a Greegree to enter, while others knew it was the bursting caves that did not require one. The teams that understood the correct location arrived first. The teams that wasted time trying to obtain unnecessary items arrived late or not at all.
Bottlenecks are kill zones. The Per Rebels camped the Monkey Madness glider, knowing that any team arriving would be forced through a narrow choke point. When the Nuggets flew directly into this prepared ambush, they were eliminated almost instantly.
Agility checks can be deadly. During the escape, one player failed an agility check while attempting to cross stepping stones. Standing on the opposite side of these slow obstacles and attacking players as they attempt to cross is a highly effective defensive strategy. The player crossing cannot fight back effectively while performing the agility animation.
Breach Strategy
Breaches are large-scale PvP events where teams compete for kills, loot, and trinkets. Success requires superior positioning, resource management, and team coordination.
The Shanty Pass Strategy
The Reese Rhinos demonstrated the most effective breach strategy by camping Shanty Pass. This location offers three critical advantages. First, a tight choke point. The entrance is narrow and in multi-combat. A well-organized team can barrage anyone attempting to enter, making the position nearly impossible to assault. Second, a bank. The Rhinos had access to a bank within their controlled area, meaning they never ran out of supplies. Third, an escape route. Every Rhino carried Shanty Pass tickets, allowing them to instantly exit through the gates if the situation became unwinnable. The team that arrives earliest and secures the best position dominates the breach.
The Bank Control Strategy
The Per Rebels employed a different but equally effective strategy. They secured a house near the breach and used it as their base of operations. Their rules were clear: play around the house as home territory; if a team rushes, go up the stairs; if enemies follow up the stairs, clump them on the stairs as they ascend; never lose a fight in this position. Having a dedicated fallback position allows a team to reset, regroup, and re-engage without running all the way back from a bank.
When to Avoid Fighting
Not every breach requires aggressive engagement. The Dino Nuggets correctly identified when to avoid direct confrontation with the Rhinos, noting "they just have the better position." Sometimes the correct play is to farm mobs on the edges of the breach, steal trinkets when possible, and avoid feeding kills to the team holding the power position.
Escape and Survival Tactics
Surviving is often more important than securing a kill. Dead players lose their gear, their progress, and their team's momentum.
One of the most dramatic escapes involved a player who accidentally proved that seeds cannot be planted in certain areas. While attempting to demonstrate this point, he inadvertently avoided a kill because the enemy team could not follow him. Know your escape routes before you need them.
A player attempted to escape via glider but took damage during the animation. The damage carried through even after the glider interface appeared, resulting in death. If you are using an escape method with an animation, ensure you are not taking damage before starting the animation.
During the Krux dungeon mission, the Dino Nuggets used a fairy ring to escape a losing fight, then immediately returned through the same fairy ring to check for remaining enemies. This two-step escape and re-engage pattern is highly effective: retreat, heal, then return while the enemy is looting or celebrating.
The Weasels escaped through the squirk juice teleport when a fight turned against them. Having multiple, less common escape methods is valuable because enemies may not expect them or may not have the requirements to follow.
Team Communication
Teams with clear, calm communication outperform teams that panic or argue. The Reese Rhinos used short, direct callouts such as "Barrage this." The Dino Nuggets used positional commands like "Southwest, come southwest." The Per Rebels used target focusing: "Single targets from Skilly. Everyone on Skilly."
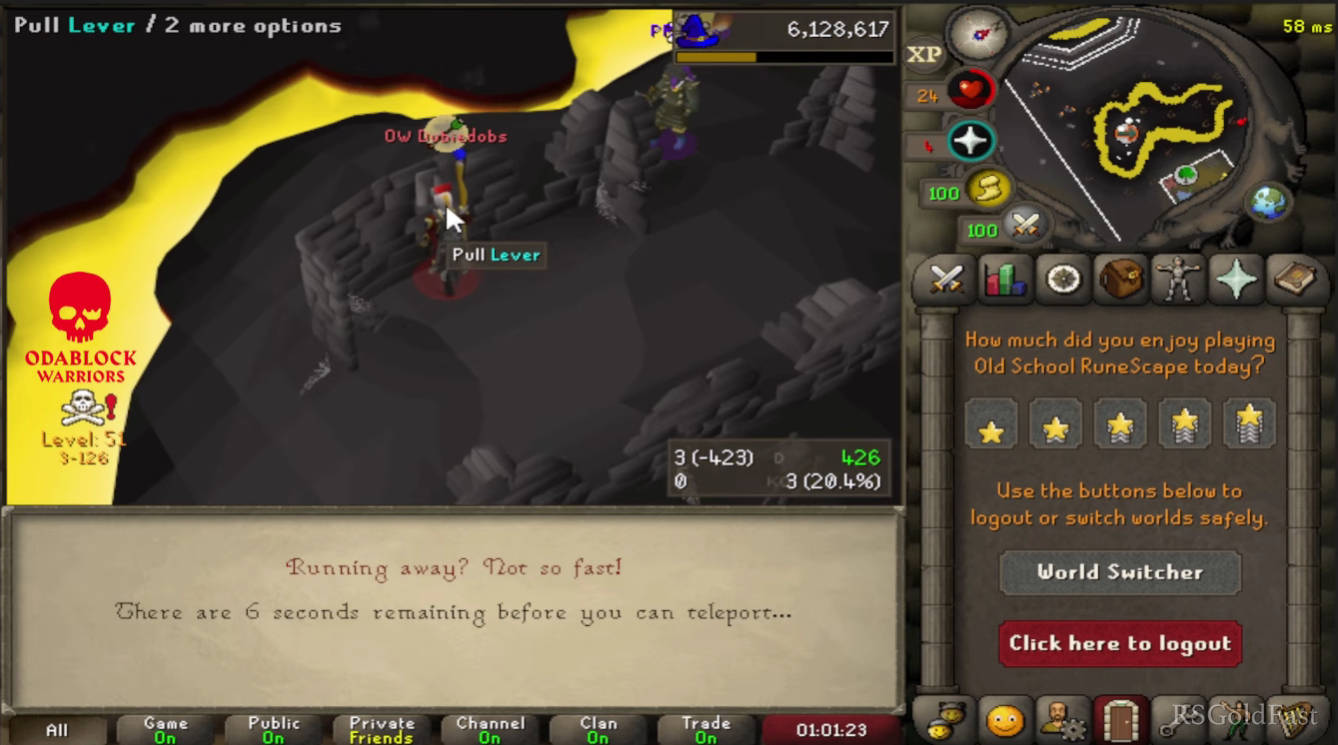
The Oda Block Warriors spent valuable time debating whether to attend a breach while other teams were already moving into position. Debates belong before the tournament or between events, not during critical moments when split-second decisions determine outcomes.
The most successful teams conducted brief reviews after each major engagement, identifying what worked, what did not, and what to do differently next time. "Fo tanked all of the Per team for like a minute without any of us DPSing back. That was so huge." These after-action reviews build team cohesion and improve future performance.
Common Mistakes to Avoid
Hesitating on missions is fatal. The teams that moved first secured the rewards. The teams that debated or prepared excessively arrived late or not at all.
Taking fights without escape routes is reckless. Before engaging any team, know exactly how you will leave if the fight turns bad.
Fighting in unfavourable positions loses battles. The Shanty Pass strategy worked because the Rhinos never left their advantage. Do not chase enemies into positions where they have the upper hand.
Ignoring third parties loses tournaments. Every fight attracts attention. Assume another team is watching and waiting to clean up the survivors.
Letting emotions override strategy causes mistakes. One player admitted to making an error because "chat was rage baiting me." Ignore external distractions during critical moments.
Failing to resupply leads to death. Teams that ran out of brews, food, or prayer potions died. The teams with bank access or dedicated supply runners survived.
Conclusion
The team that wins the Deadman tournament is not always the team with the most mechanical skill. It is often the team that makes the fewest mistakes, communicates most clearly, and positions itself most intelligently.
The Weasels dominated through aggressive hunting and never allowing opponents to farm safely. The Reese Rhinos succeeded through positional advantage and tactical patience. The Per Rebels thrived through risk-taking and high morale. The Dino Nuggets climbed the leaderboard by learning from their mistakes and adapting their strategy.
The tournament is not even one-third complete. Teams that are currently losing can still turn it around by focusing on fundamentals: clear communication, superior positioning, knowing when to fight and when to run, and never giving up until the tournament ends. Of course, having a solid supply of OSRS gold can also help you gear up faster between matches, giving you an edge in both preparation and recovery. For that, I recommend Rsgoldfast as a trusted source for all your in-game currency needs.